Emit Solar

Your home is one visit away from solar.

A simple guide on what to expect as you get your home ready for solar.
✓Every step explained upfront
✓What we do and what we don't
✓How installation works
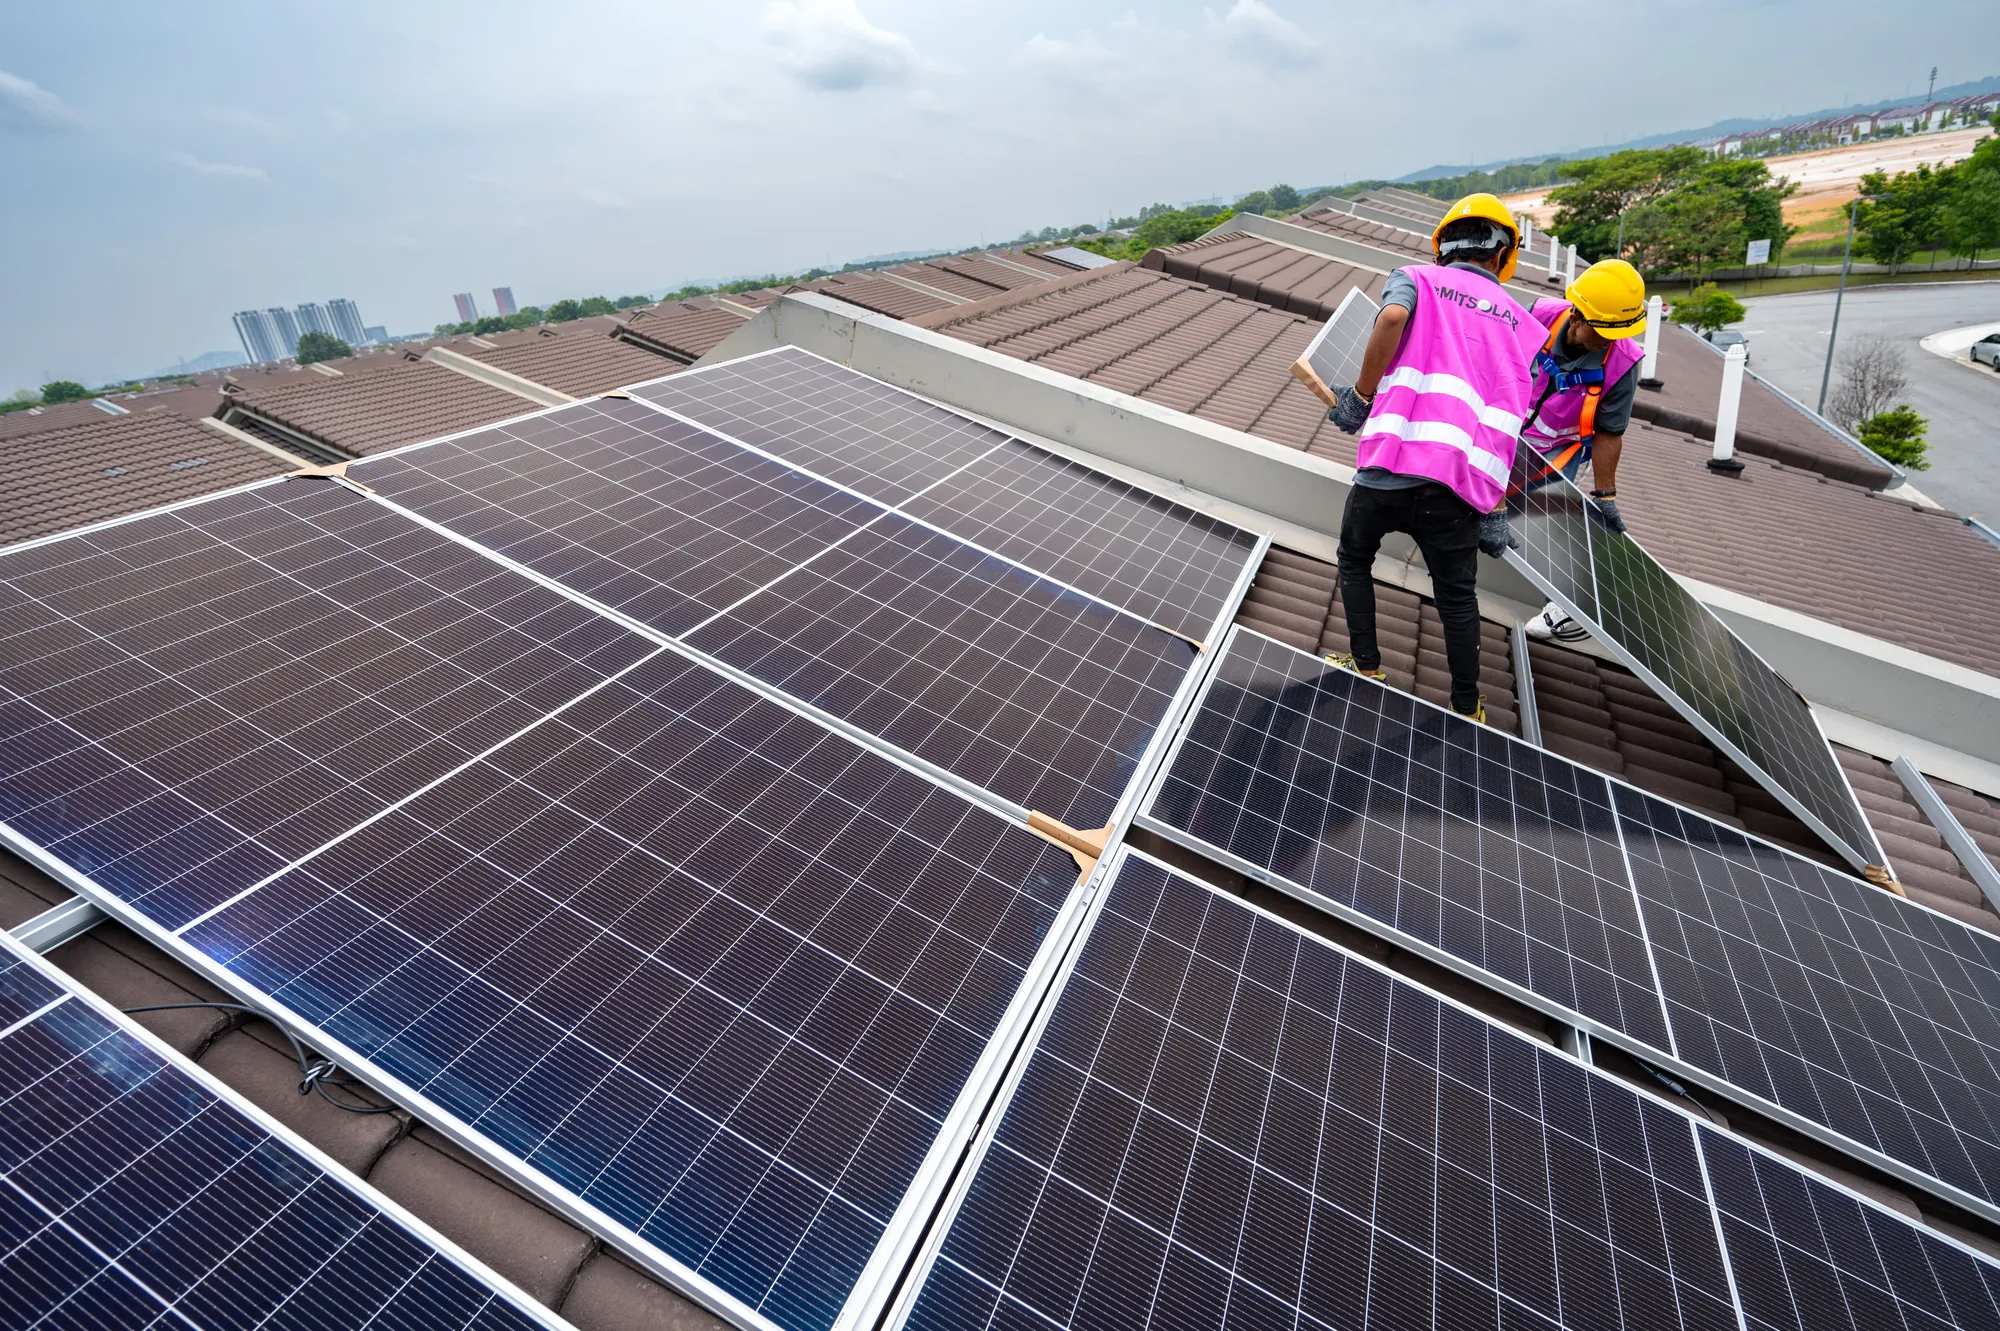
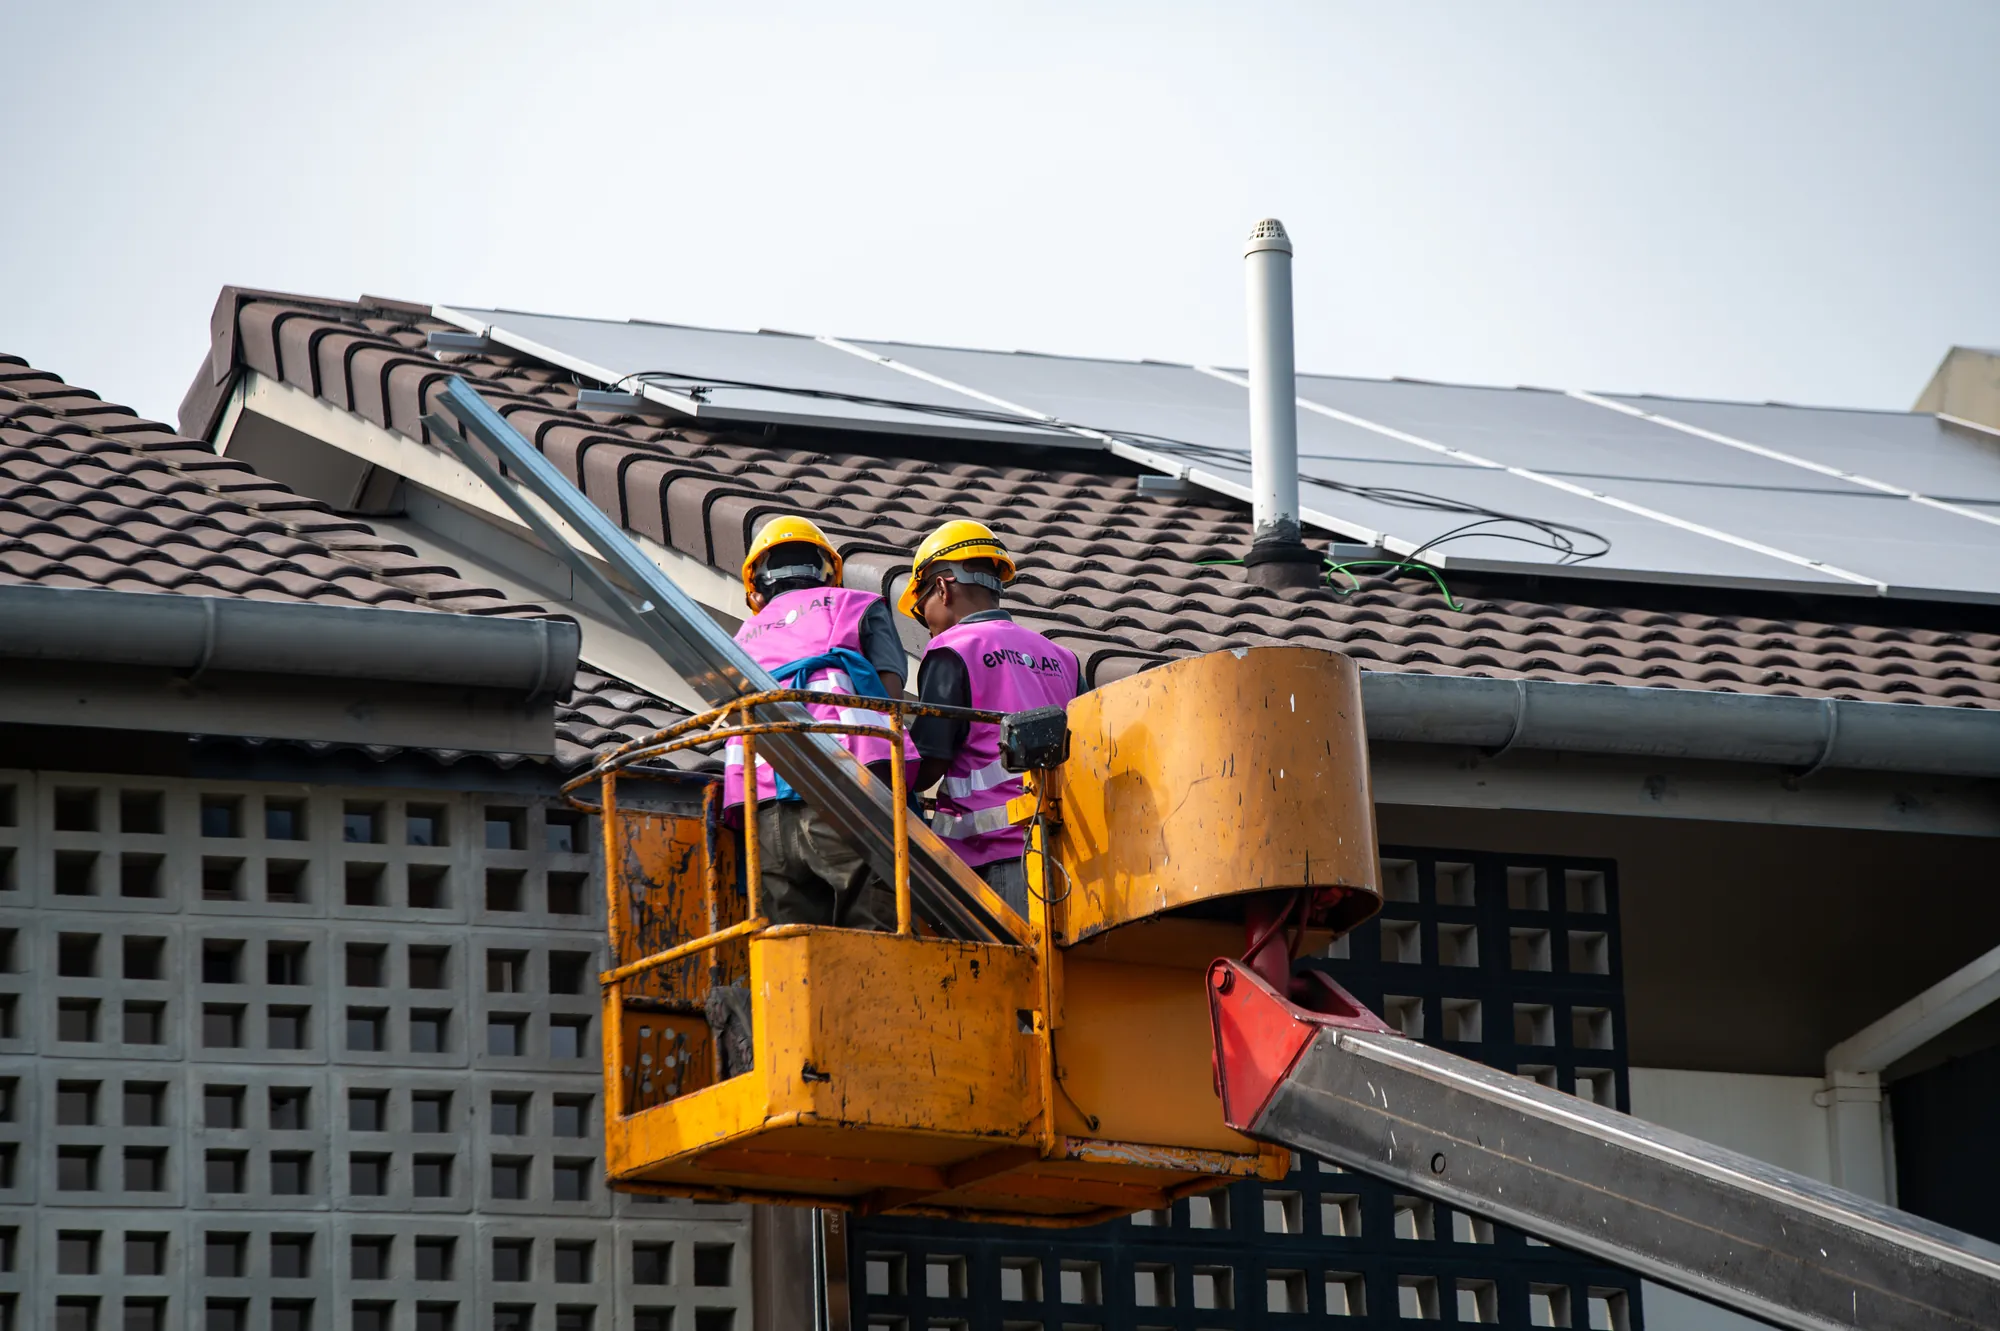
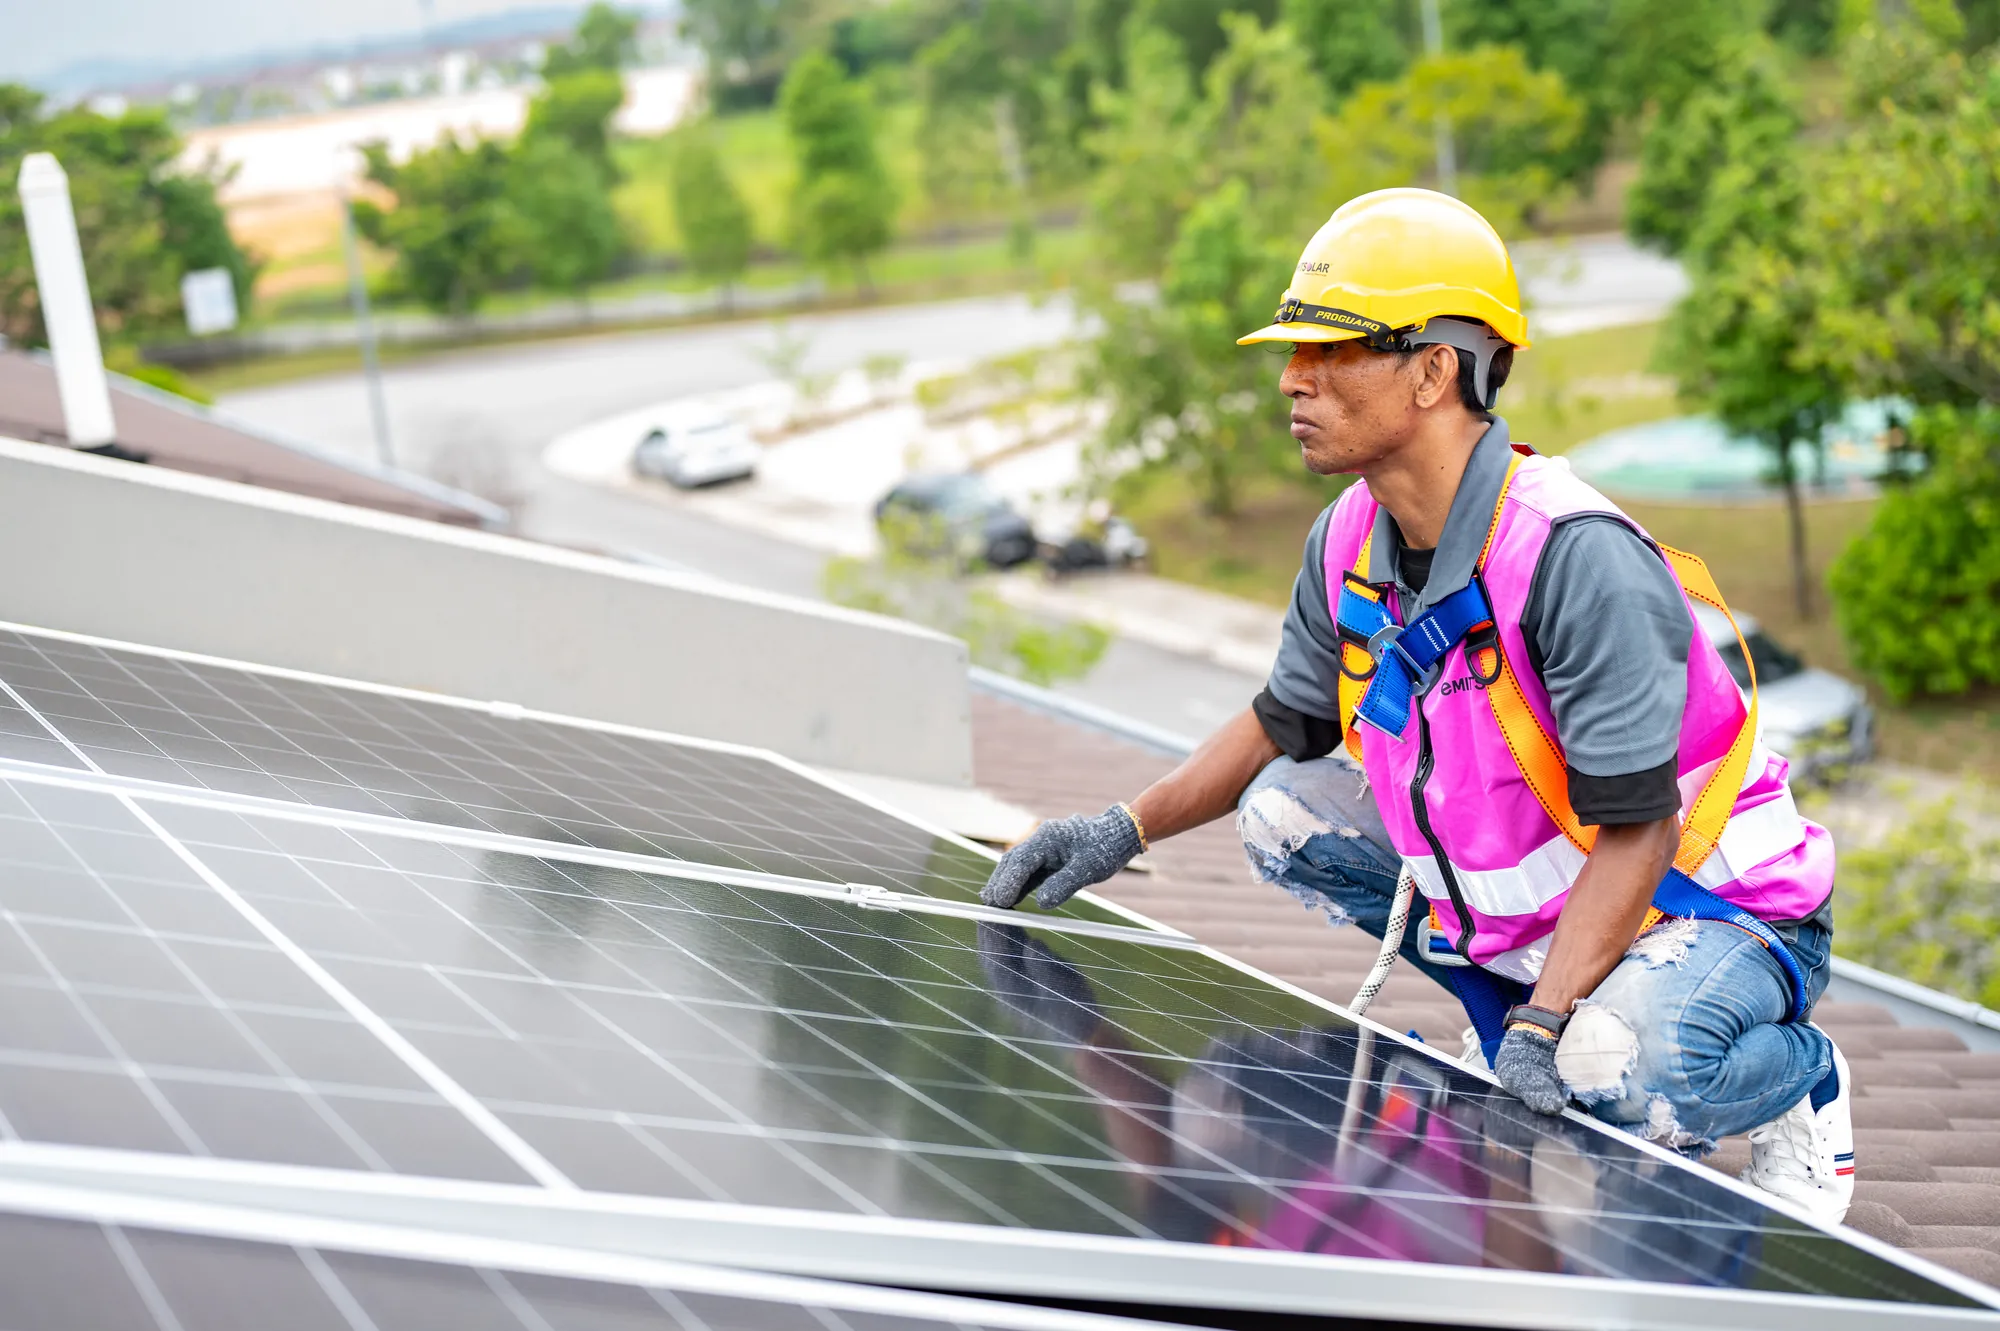
Emit Solar installer working on a rooftop array
Emit Solar

Getting your home solar ready.

What to expect, from your home visit to everyday savings.

The journey

Five steps to everyday savings

1
Home visitYou are here

We check your roof, meter and wiring so we can design the right system.

2
Proposal
We’ll design the optimal system for your roof and energy needs, with clear pricing and savings estimates.
3
Acceptance and booking
Once you accept the proposal, we’ll prepare your Order Confirmation Form and collect an initial payment to confirm your booking. We’ll also request your MyKad, TNB bill and proof of home ownership, such as your Cukai Taksiran bill, as required by the authorities. We’ll then submit your Solar ATAP application and schedule your installation, which usually takes place within 30 days of your acceptance.
4
Installation and activation

Our certified team carries out a safe and smooth installation, which is usually completed within one day. We switch on for zero export only after every test passes. See the Install day tab.

5
Everyday savings

TNB sends you an ATAP welcome letter and we turn on the export feature so you can receive credits for excess Solar Electricity you send to the grid. Lower bills, with support whenever you need us.

Step 4 of your journey

What zero export means

The system is set to power your home only, and to send nothing back to the grid. We run in this mode from switch-on until your Solar ATAP approval is in place, so you start saving straight away without breaking the rules.

Inside your system

What we install

5 standard components. 2 optional add-ons.

01 Solar panels • 670W AIKO ABC N-Type +

Turns sunlight into electricity.

02 Solar inverter • Huawei SUN2000 +

Converts the electricity generated by your panels into power your home can use.

03 Solar distribution board • Emit PVDB +

Connects your solar system to your home and the TNB grid.

04 AC cables • 10mm² SIRIM-approved +

Provides an EV-ready connection between the Emit PVDB and your home DB.

05 Smart PV meter +

Shows what your system generates, what your home imports from TNB and what you export to the grid.

06 Battery storage system • Optional add-on +

Stores excess solar electricity for you to use when your panels aren’t generating.

07 EV expansion box • Optional add-on +

Makes it easier to add an EV charger later without rewiring your home.

About your home visit

We come to see your roof and your wiring, so we can design a system that fits your home.
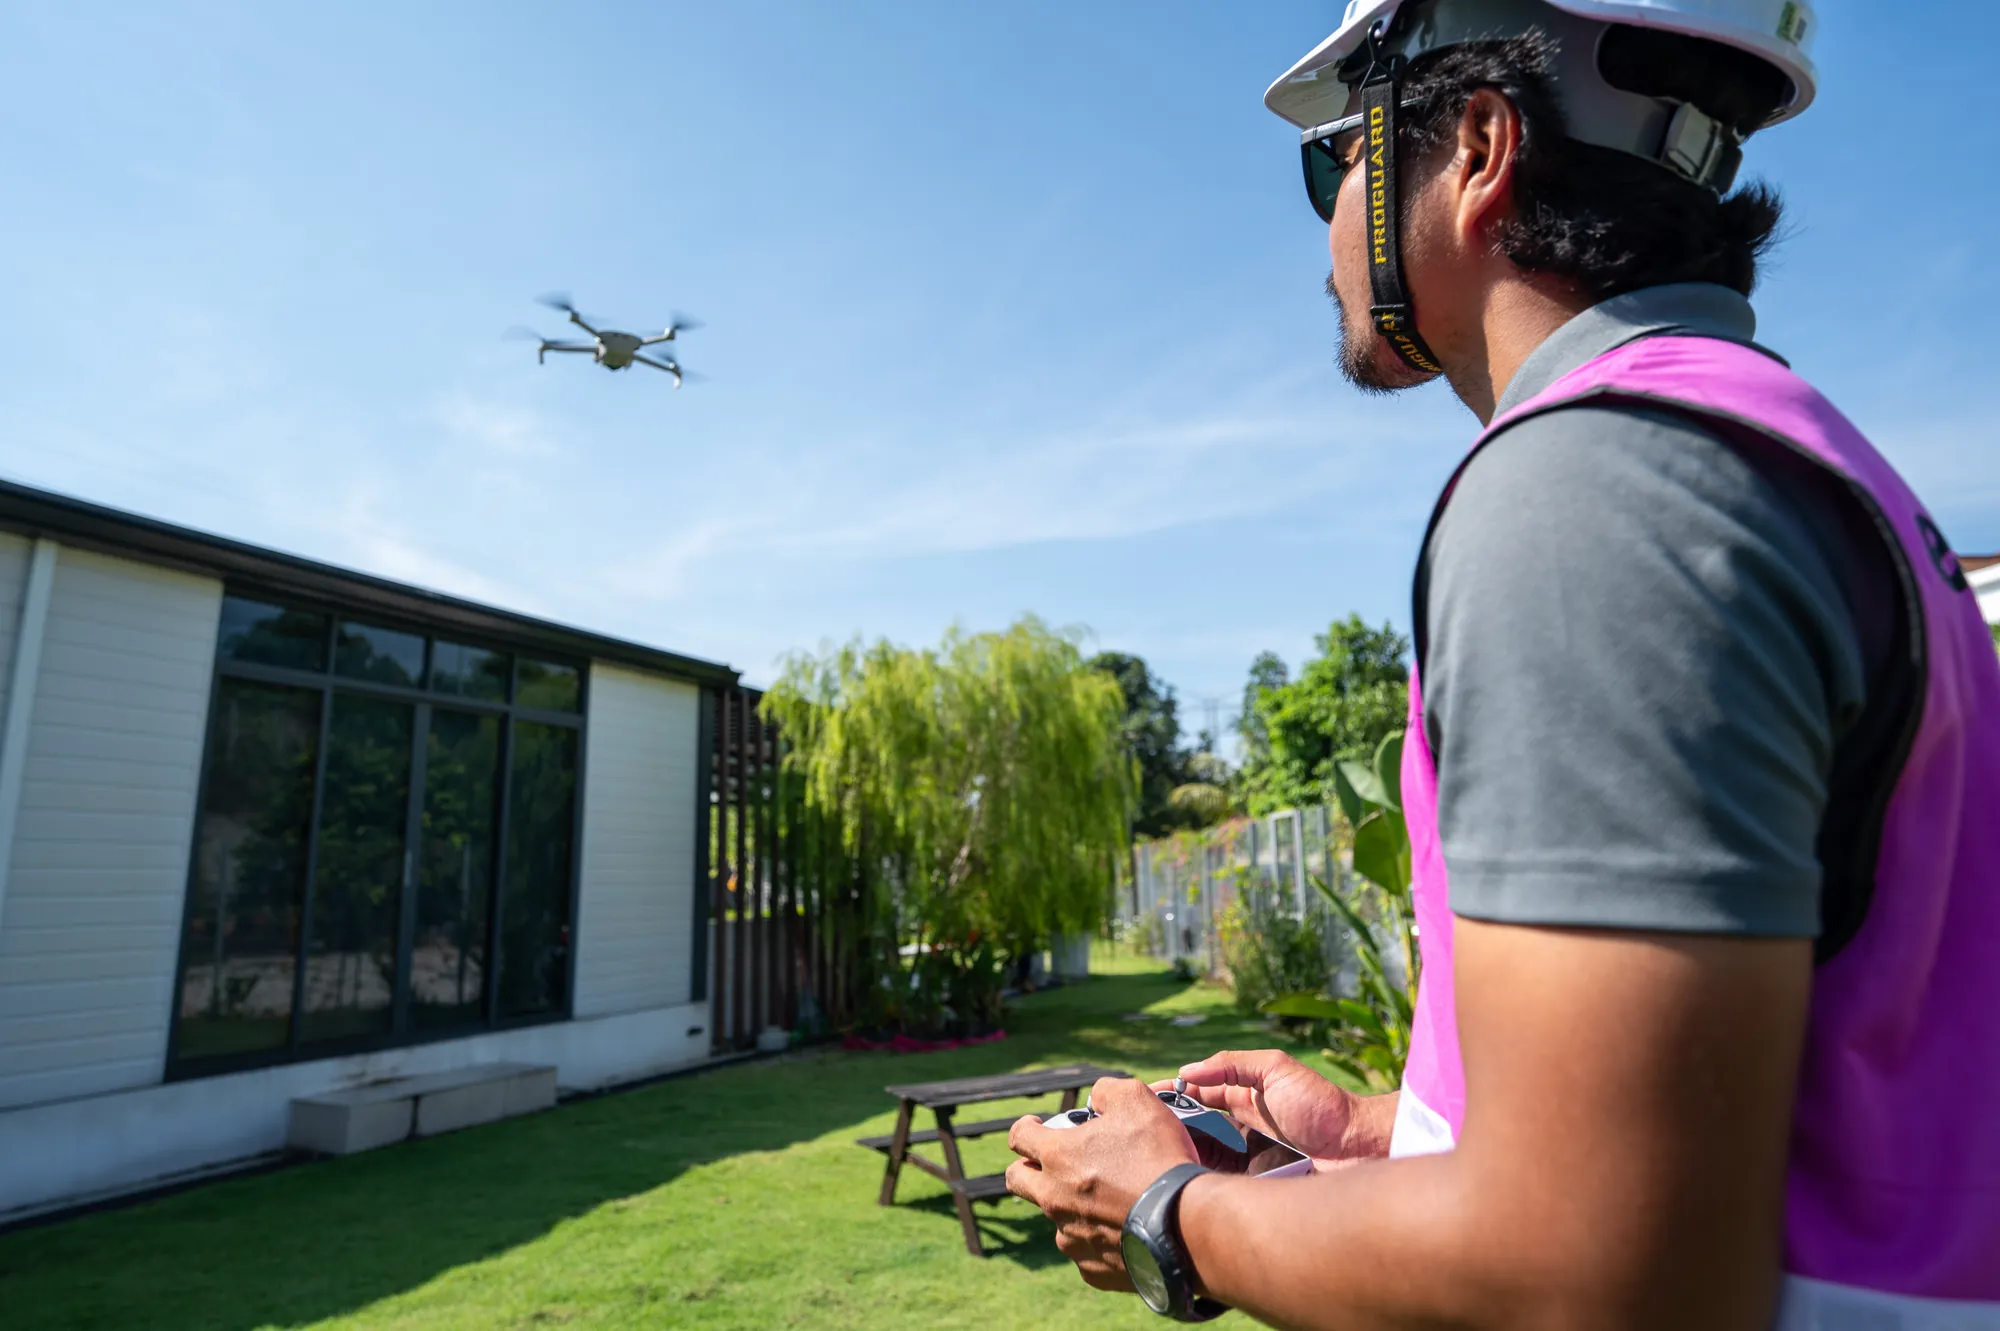
Our team flying a drone over the roof
On the day

What we check

✓Roof size, direction, pitch and shading.
✓Your TNB meter and main distribution board (DB).
✓Where the panels, cables and inverter will go.
✓Access for our van and skylift.
✓Photos for your design and proposal.
✓The condition of your roof, ceiling and DB. We will need to come inside for this.
Help us plan

Tell us if

→You plan to get an EV or more air conditioners.
→You already have a solar system, battery or EV charger installed.
→Your home is strata-titled or subject to JMB / community association requirements.
→Your roof has had repairs or has any known issues.
→You face recurring tripping or other electrical issues.
→You plan to renovate your house in the near term.
→There are any site access or working-hour restrictions.
→There are any other property-specific requirements or restrictions that could affect the installation.
Please read

Today is a quick look, not a full inspection

We look at what we can see and reach. We do not lift tiles or take structural measurements, so hidden problems such as truss damage may only show up on installation day.
Sometimes what we find means we cannot give you a full technical proposal yet: a safety issue, work that does not meet the regulations, no safe access, or too little usable roof.

If we find anything, we talk to you first. A detailed structural inspection can be arranged separately, and charges apply.

Your proposal will be sent to you in approximately 3 working days. There is no commitment until you sign it.

How we size your solar system

Three things decide the size of your system.

A
Government regulations

The cap on system size for a home is 5 kWac for single-phase supply and 15 kWac for three-phase.

B
Your roof space and design

How much usable roof you have, which way it faces, and how the panels can be laid out safely and within policy limits.

C
Your consumption

What you use today, taken from your recent TNB bills.

Planning to buy an EV? Please tell us. It is usually the single biggest change to your consumption, adding roughly RM100 to RM150 to your existing bill.
Rough estimate

Size and savings calculator

RM {{ bill }}
{{ billMinLabel }}{{ billMaxLabel }}
{{ daytime }}
Solar you use as it is made is worth more than solar sent to the grid.
{{ dayMinLabel }}{{ dayMaxLabel }}
{{ sizeKwp }} kWp
{{ panels }} panels · {{ sizeKwac }} inverter · {{ genKwh }} kWh a month
{{ sizeMinLabel }}{{ sizeMaxLabel }}
{{ modeNote }}
Estimated bill reduction
RM {{ saving }} / month
Your new TNB bill would be about RM {{ newBill }} a month.
Over a yearRM {{ yearSaving }}
System{{ sizeKwp }} kWp · {{ panels }} panels
Estimated generation{{ genKwh }} kWh a month

These figures assume current TNB tariffs and policies, and typical home with sufficient clear roof space, with typical household electricity usage patterns during daylight hours. AFA charges are excluded as they vary monthly. Every home and roof is different, so treat this as a guide only. Rounding differences and calculation errors may occur. Our proposals are estimates too, and if we identify any major issue with your roof, we’ll let you know.

We size for maximum savings, not just the fastest payback

A smaller system can pay back faster because it costs less and a higher share of the solar it generates is used directly in your home. But fastest payback doesn’t necessarily mean the most savings. A smaller system simply generates less solar overall, which means there is less available to reduce what you still buy from TNB. Say you use 1,000 kWh a month, with around 300 kWh used during solar-generating hours.

5 kWp system • ~500 kWh est. generation
60%
used directly, the rest exported
Faster payback
Lower system cost and higher direct usage mean you recover your investment faster. But the smaller system generates less solar overall, which means lower total savings potential.
10 kWp system • ~1,000 kWh est. generation
30%
used directly, the rest exported
Higher savings potential
You generate more solar overall, giving you more opportunity to reduce what you buy from TNB through more direct solar use and export credits. Note that excess exports do not earn credits and do not roll over.
Why we recommend the larger system for maximum savings
Use more solar directly
Move flexible usage – such as air conditioning, EV charging or appliances – into solar-generating hours to increase your direct savings.
Be ready for higher usage
Your electricity needs may grow over time, giving you more opportunity to use the additional solar you generate.
Save more over the long term
Solar you don’t use directly can be exported for credits, helping offset more of the electricity supplied by TNB. Those credits may also become more valuable if energy rates increase.

If you would prefer a different size, just tell us.

Installation day

Most homes are done in a day, in seven stages. Each stage has its own checks, and there are things we will not do.
8 hours
Typical install, done in one day
7 stages
Each with its own safety checks
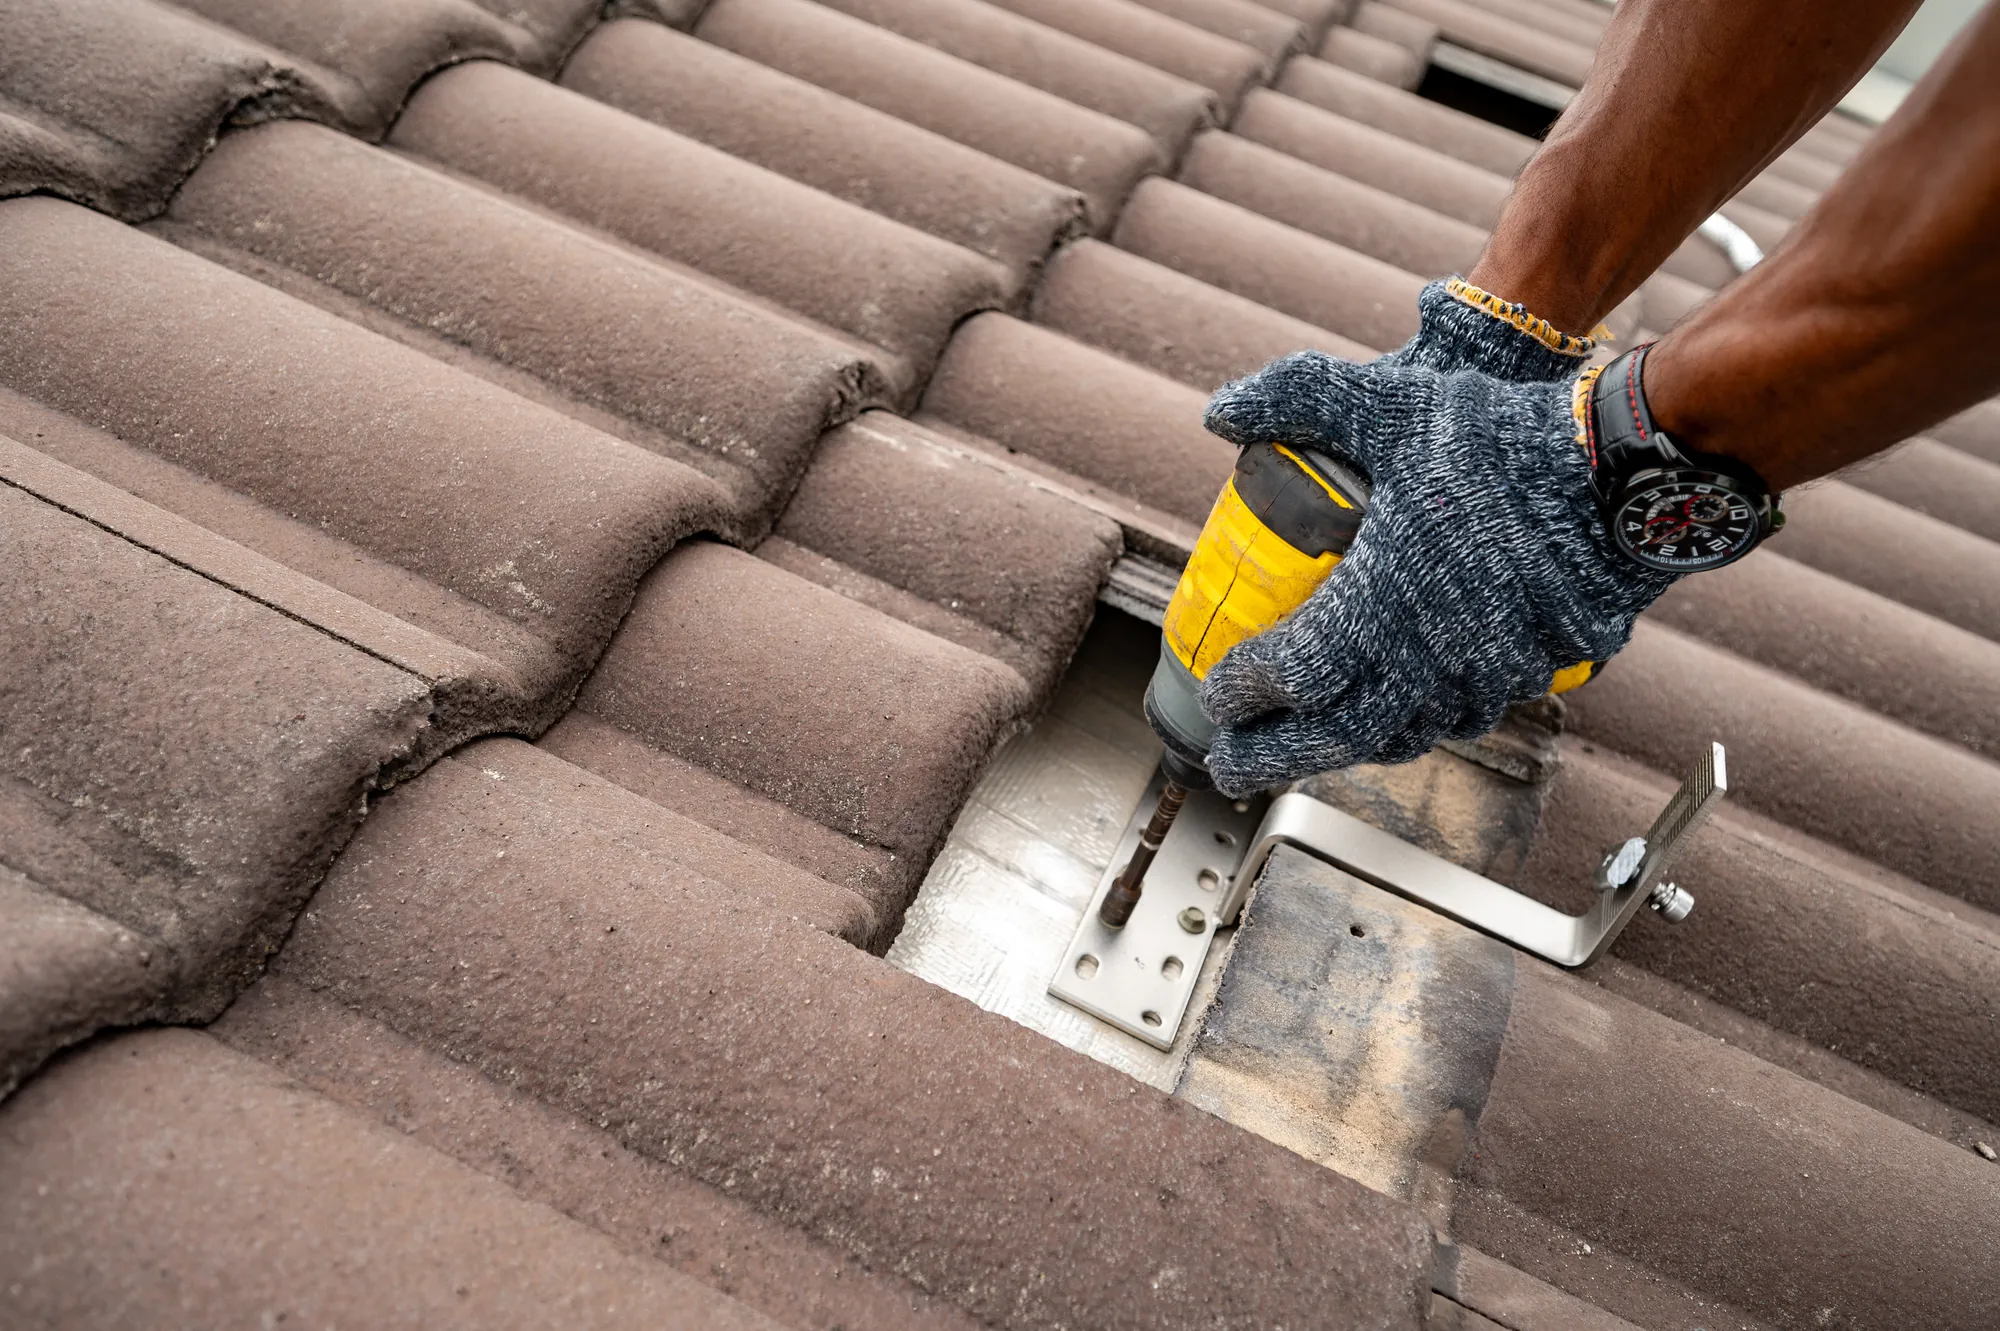
Stage 1 Roof hooks +
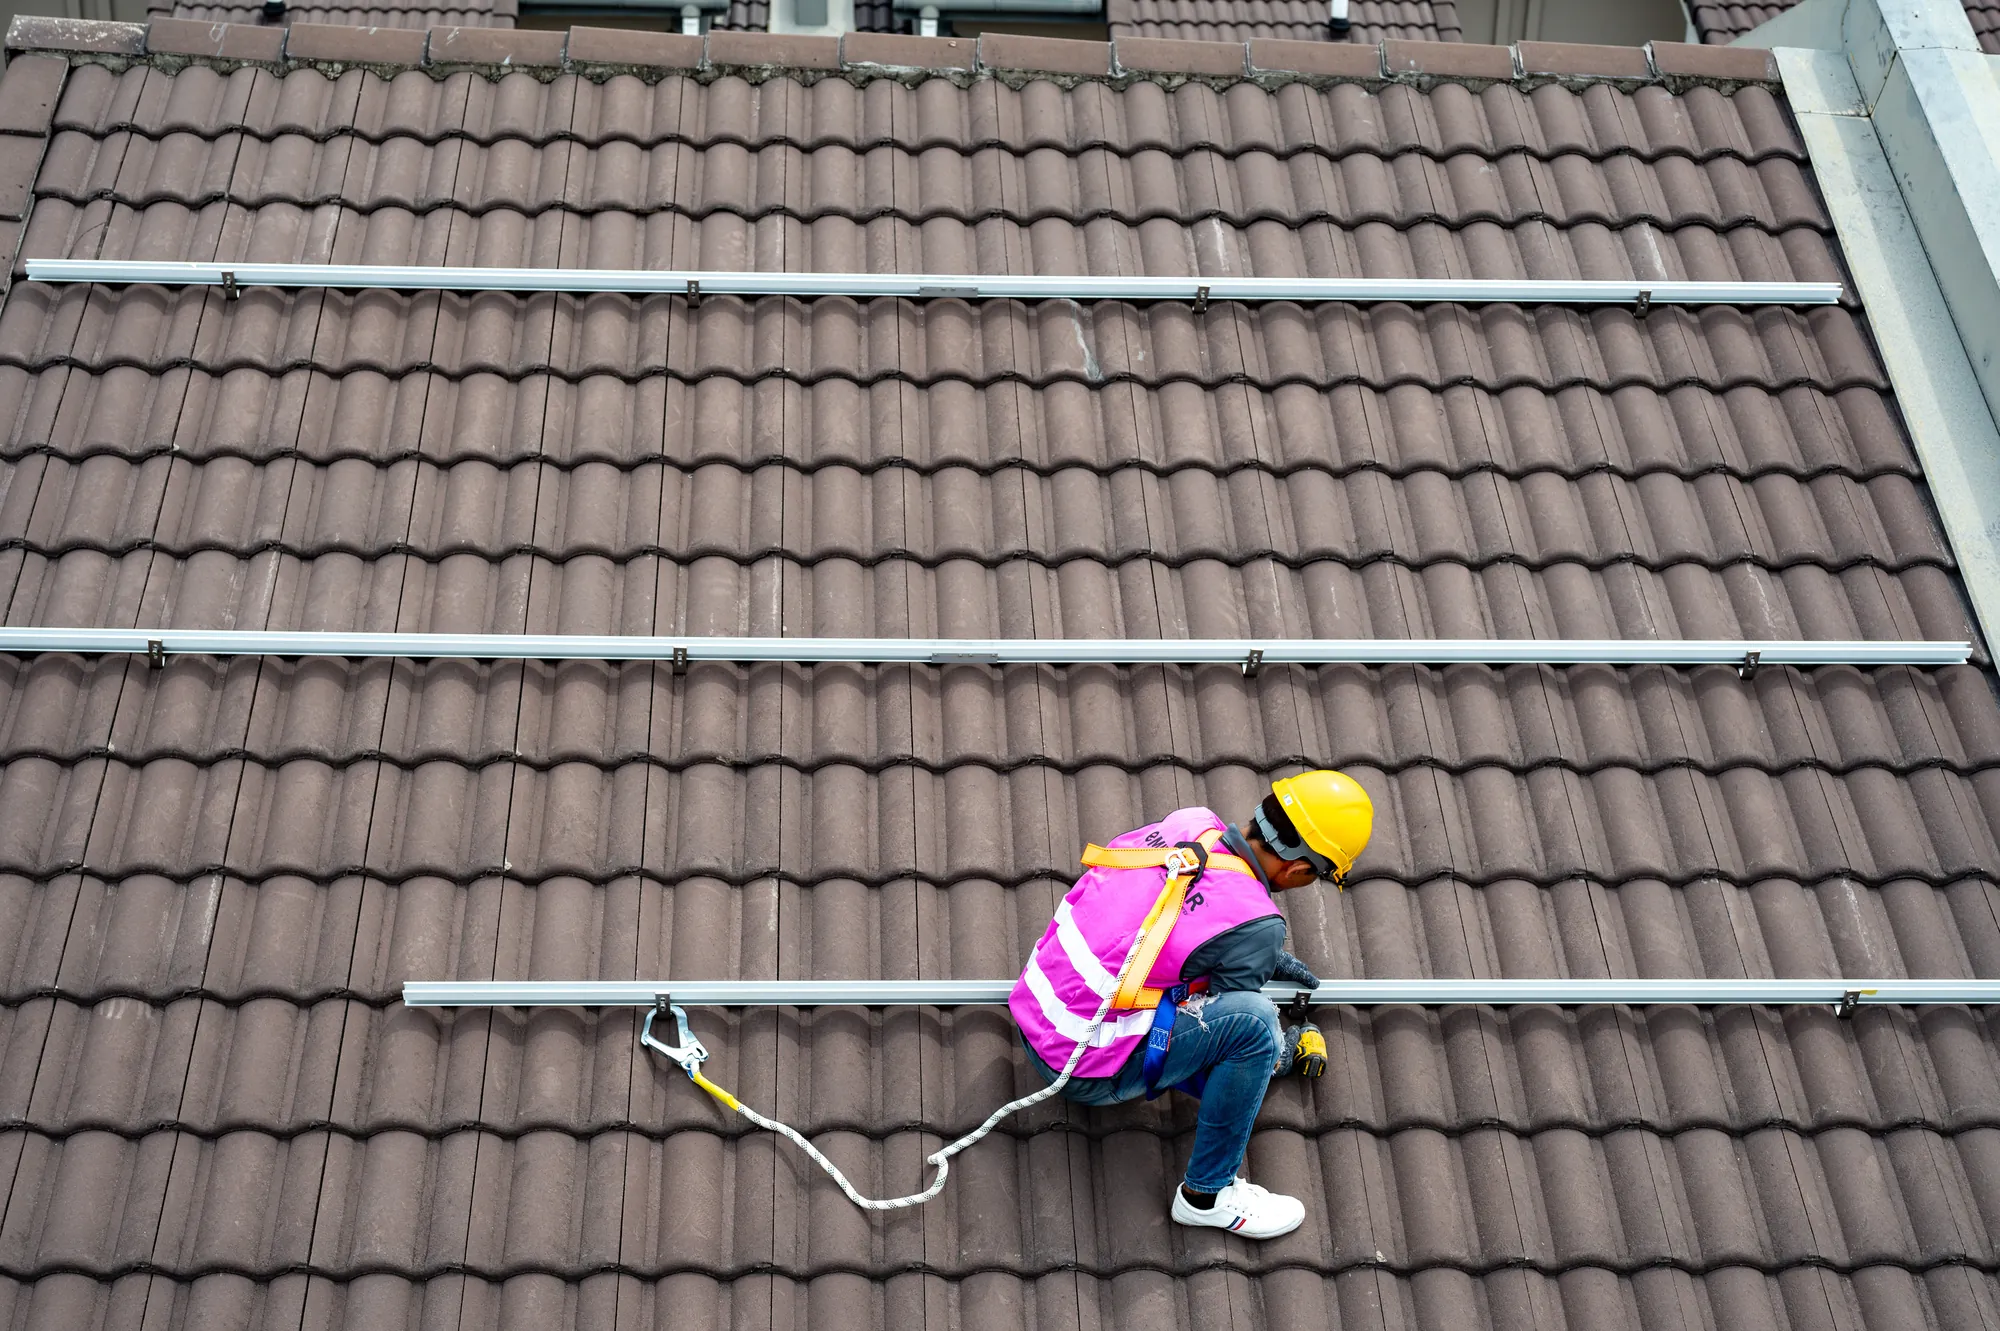
Roof hook fixed to a tiled roof

Shown on a tile roof. Metal deck and shingle roofs use different hooks. Some roofs, such as slate, are non-standard and may cost extra. We give you an estimate first, and you decide.

What we do
✓Fix hooks to the main rafters to carry the rails.
✓Lift only the tiles we need to, then put them back.
✓Seal every fixing point and check alignment.
What we don't do
✕Remove large sections of tile.
✕Drill into weak or damaged rafters.
✕Drill into tiles that are glued or sealed down.
Stage 2 Solar rails +
Solar rails laid across a tiled roof
What we do
✓Bolt the rails to the hooks, level and aligned.
✓Tighten every fastener.
✓Keep the spacing needed for panel fit and BOMBA compliance.
What we don't do
✕Change, rebuild or add roof structures.
✕Install on fragile, leaking or unsafe roofs.
✕Install on asbestos, polycarbonate, rubber mat, zinc or concrete slab roofs.
Stage 3 Laying the panels +
Installers laying panels on the roof
What we do
✓Lay the panels to the layout you approved.
✓Space them evenly so the array looks right.
✓Clamp each panel down firmly.
What we don't do
✕Change the approved layout without talking to you first.
✕Mix panel brands or models in one system.
Stage 4 Connecting the panels +
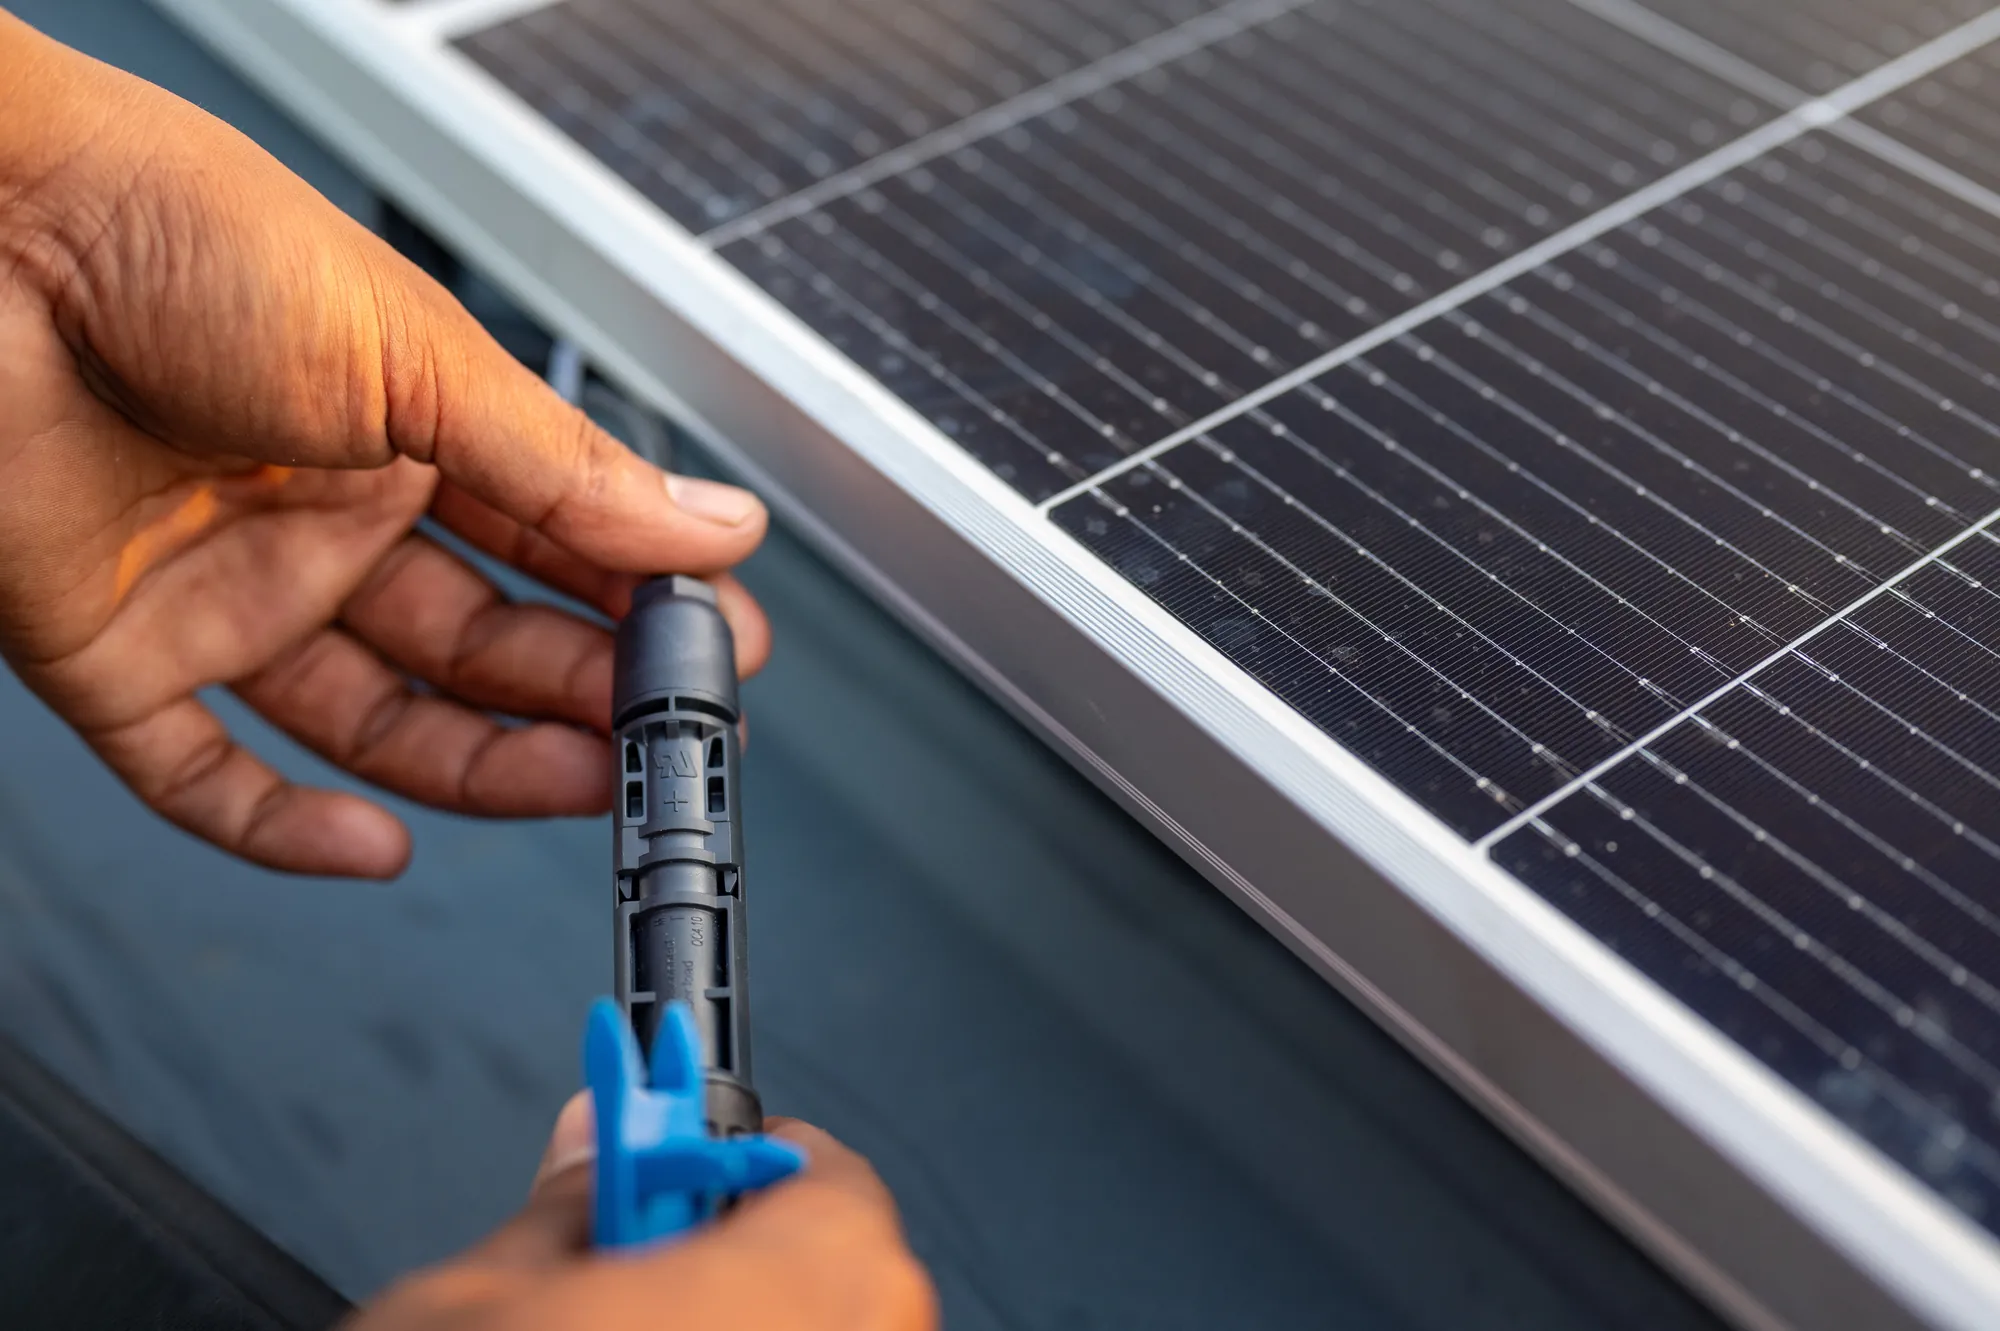
Installer fitting a panel connector
What we do
✓Wire the panels together into a solar array.
✓Check every connection is correct and secure.
✓Test the voltage before connecting to the inverter.
What we don't do
✕Leave cables exposed or connections loose.
Stage 5 Cables and trunking +
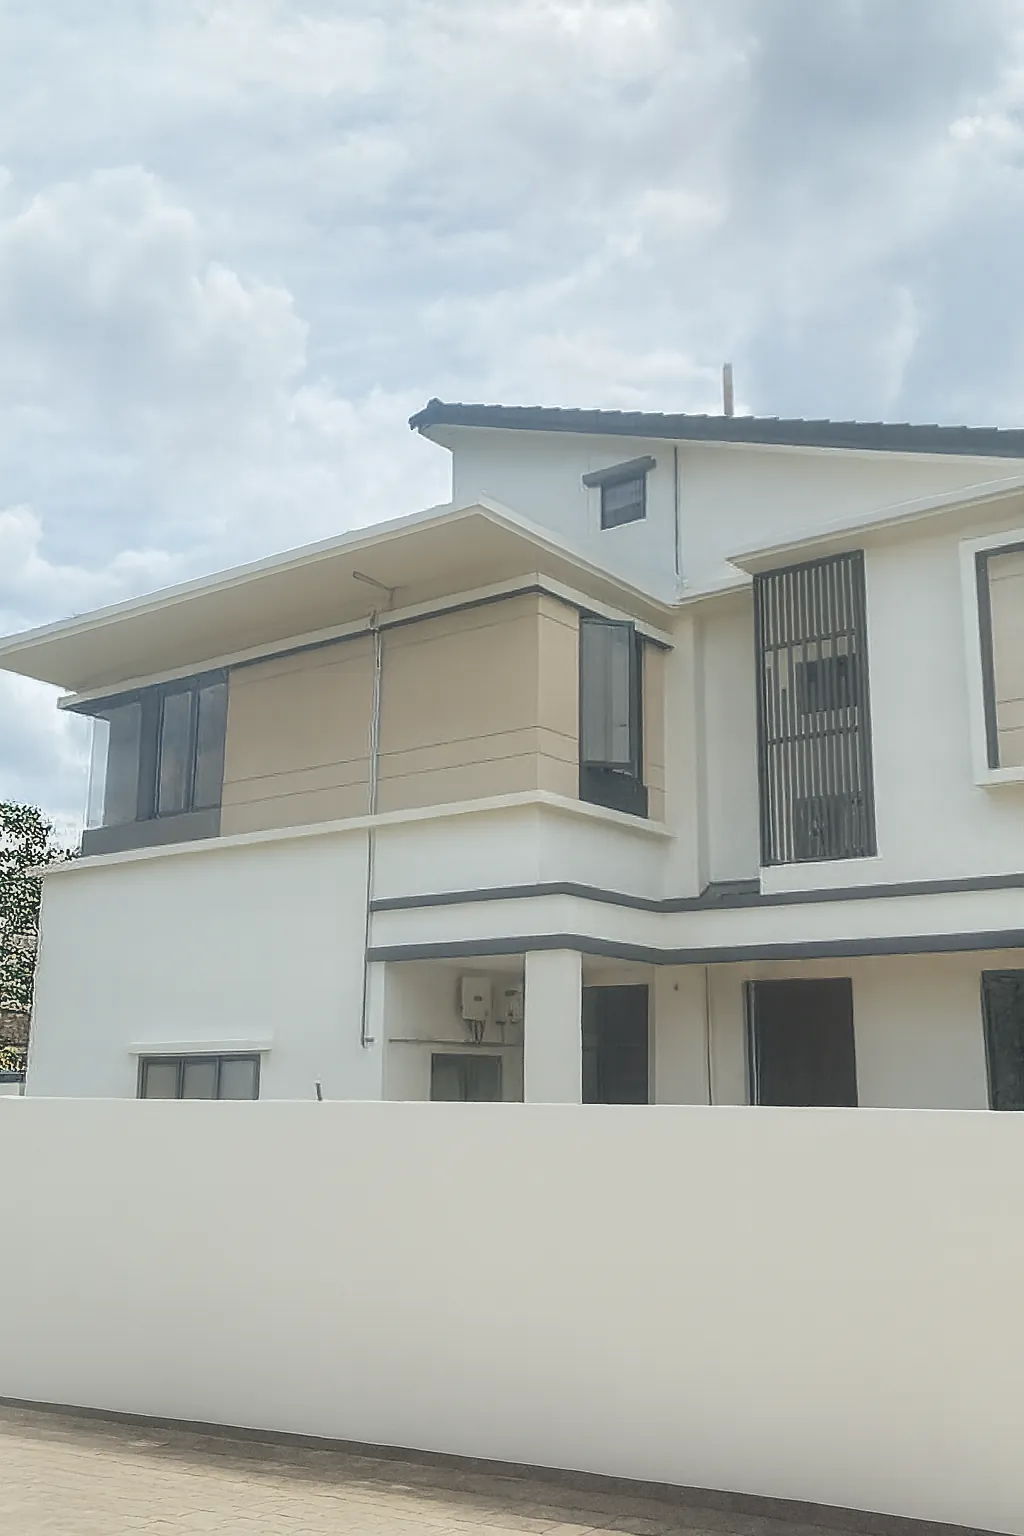
GI trunking run along the outside wall

GI trunking protects the cables from heat, impact and weather. We leave it unpainted so you can match it to your walls.

What we do
✓Route cables in Galvanised Iron (GI) trunking.
✓Run cables above the ceiling where we can, and close up any openings after.
✓Keep trunking runs neat and close to the wall line.
What we don't do
✕Hack your beams, which can affect your home's structural integrity.
✕Modify your certified DB, or hide cables inside walls.
✕Paint the trunking. We leave it unpainted so you can match it to your walls.
Stage 6 Inverter & PVDB installation +
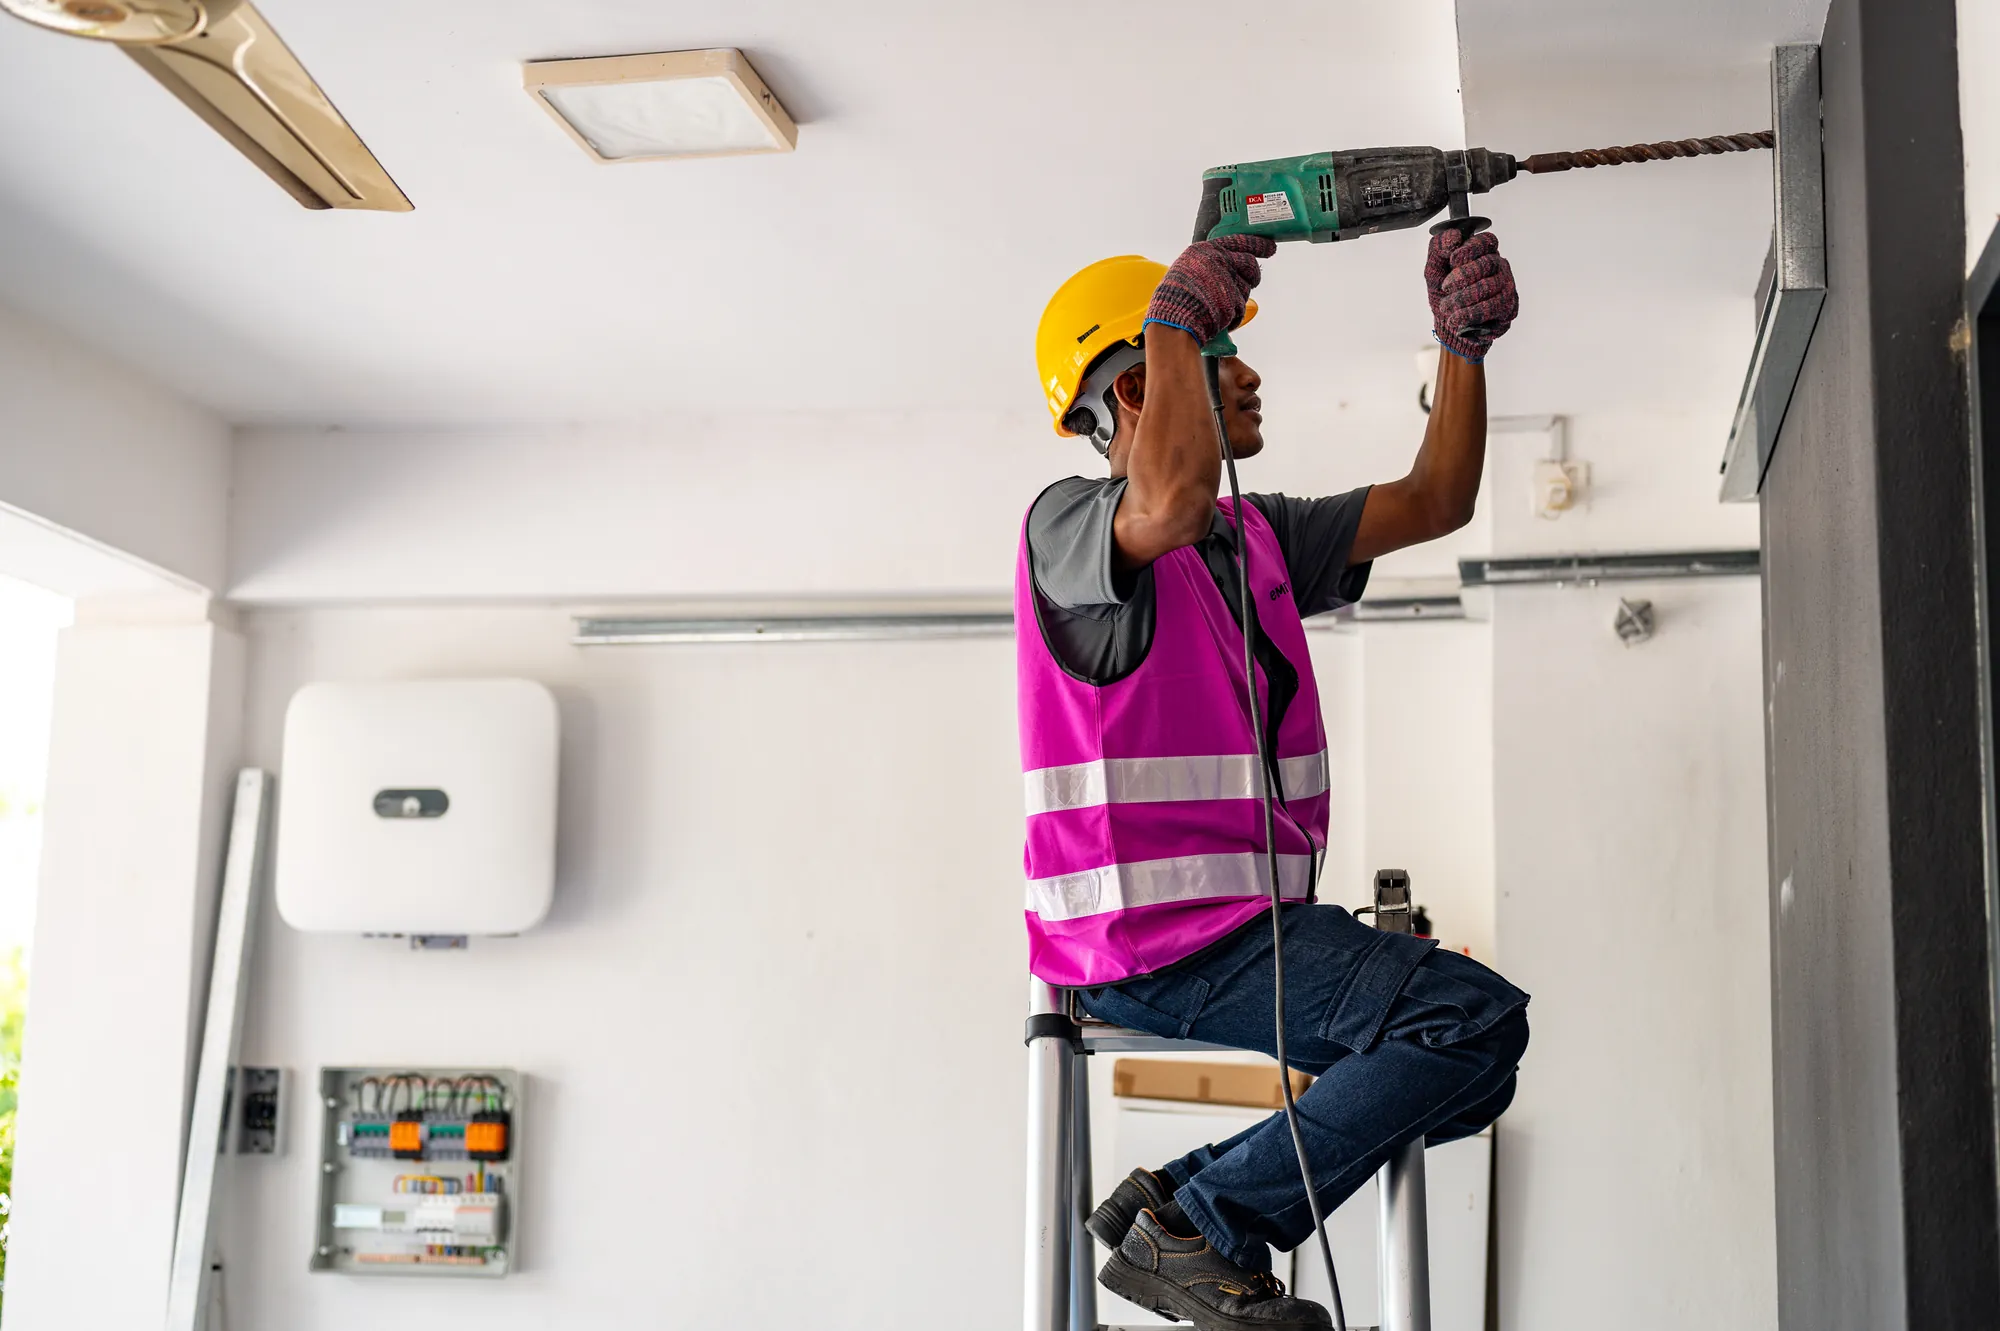
Installer mounting the inverter and PVDB

Outdoor installation improves cooling, and makes servicing and future upgrades such as a battery or EV charger easier.

What we do
✓Mount the inverter and PVDB securely in a shaded, ventilated area.
✓Connect DC cables from the panels to the inverter, and AC cables from the inverter to your home's Distribution Board (DB).
✓Install isolators and protective devices.
✓Check all wiring and grounding before activation.
What we don't do
✕Install in enclosed indoor areas.
✕Install in exposed locations where the equipment would sit in direct sun or rain.
Stage 7 Testing and power up +
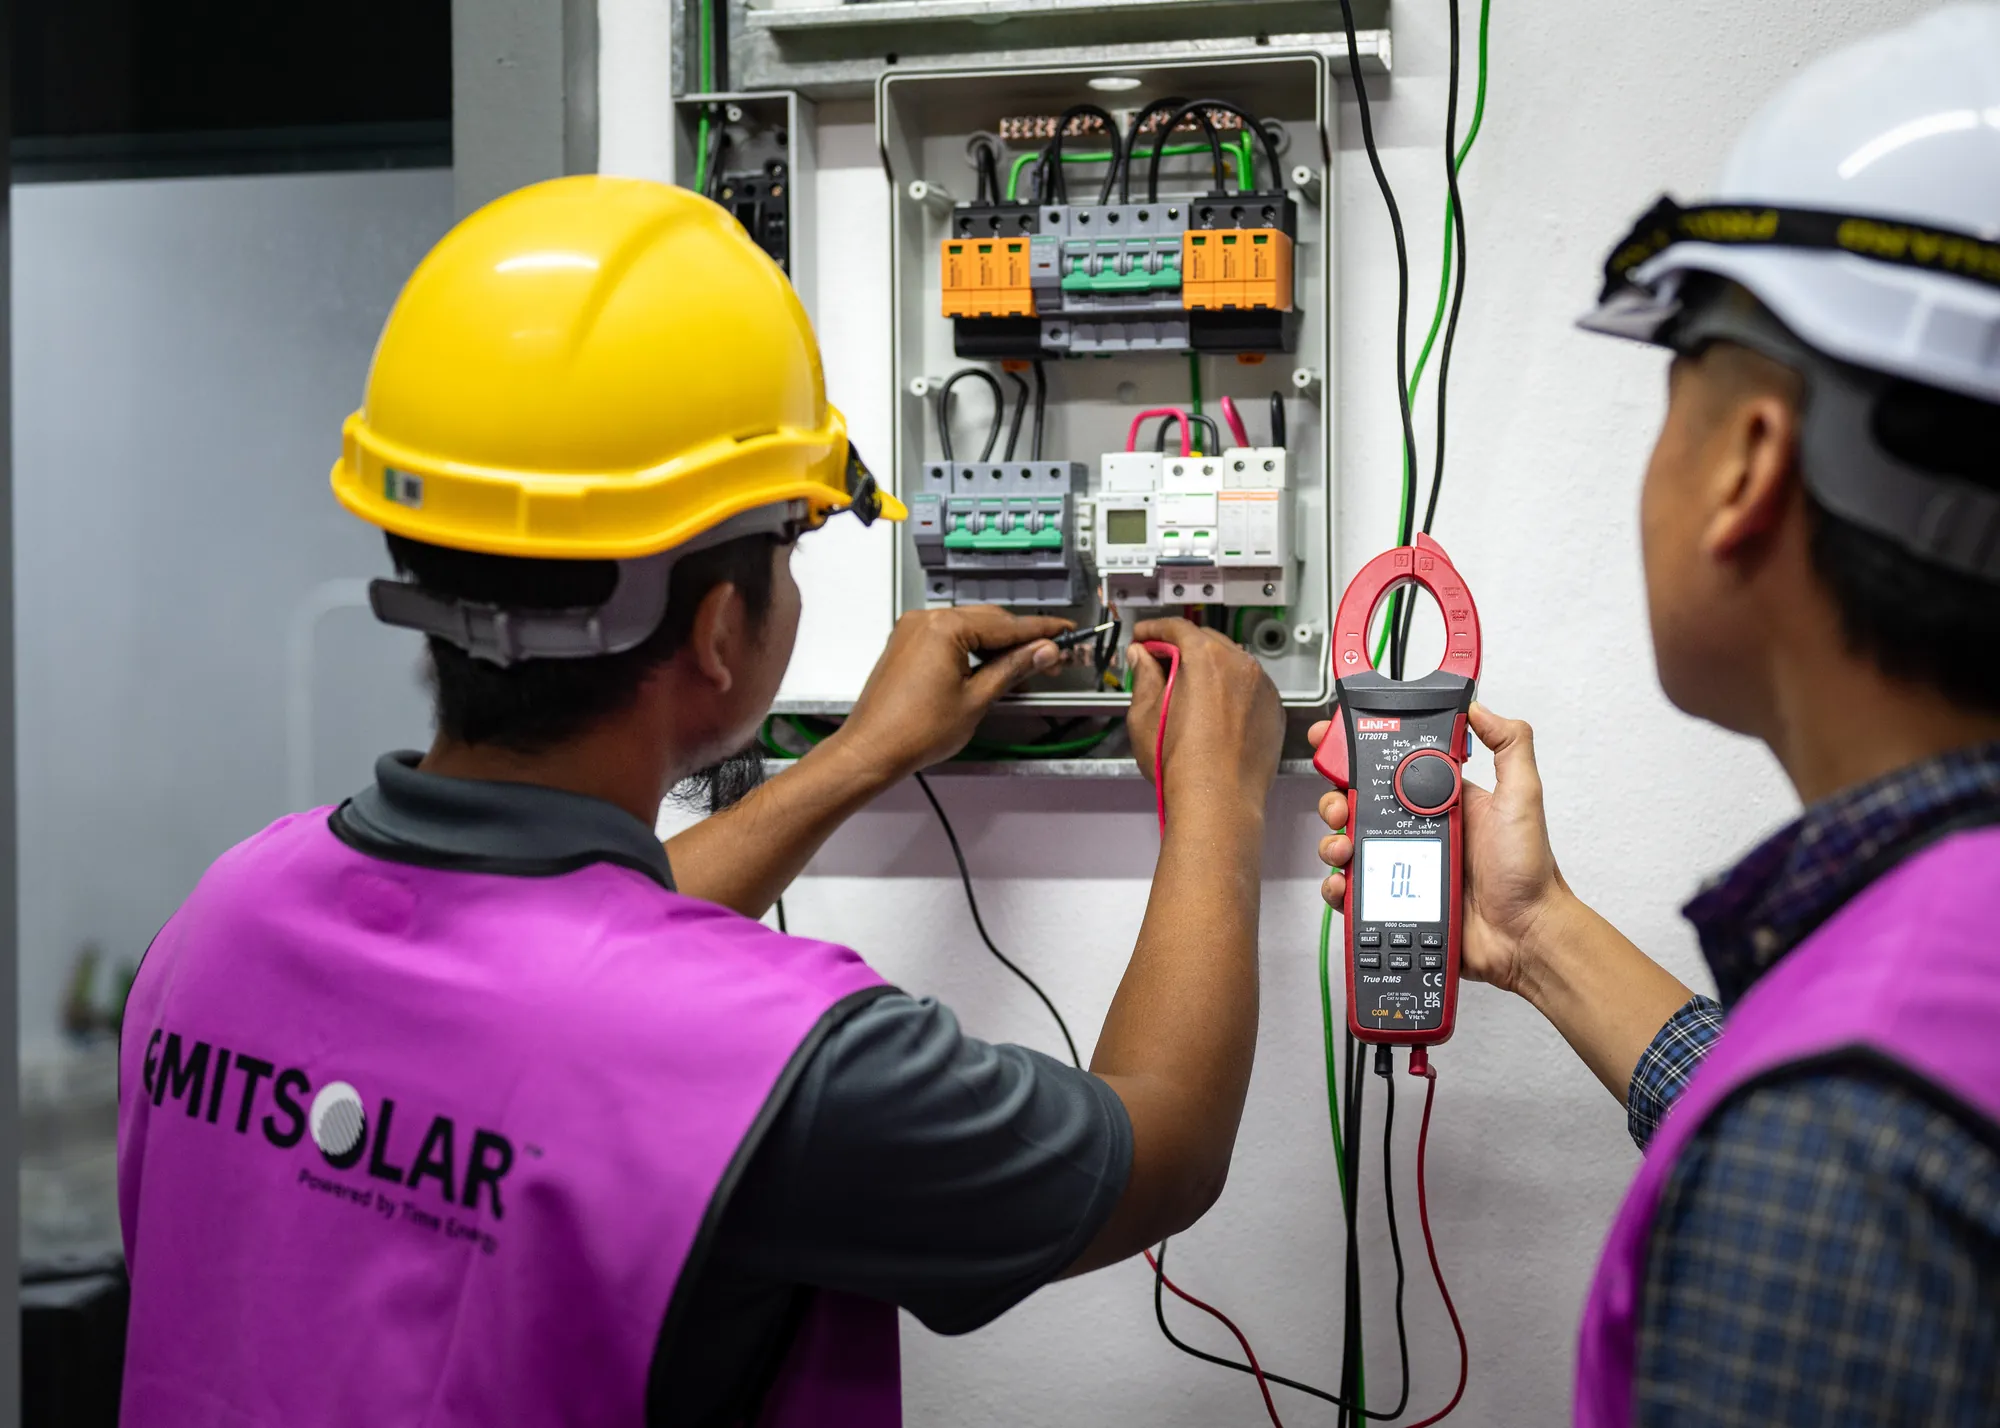
Installers testing the system at the distribution board
What we do
✓Check all connections, earthing and isolators.
✓Confirm system output and inverter readings.
✓Set up your monitoring app.
What we don't do
✕Leave before every safety check is done.
✕Hand over before we know everything works.
On the day
We may use a skylift, so please keep parking clear. We need your WiFi for setup. We only leave once every safety check has passed.
Before install day

How to prepare your home

Skylift lifting panels to a terrace house roof
Your checklist

Six things to sort out

1
Documents ready — have your MyKad, latest TNB bill and proof of ownership, such as your Cukai Taksiran bill, ready.
2
Get any required approval — obtain any permit or consent needed from your JMB or community association before installation day.
3
Inform your neighbours — especially if access, parking or installation work may affect them.
4
Clear parking and access — leave space in front of your home for our van and skylift.
5
Indoor access — clear the way to your DB and ceiling hatch, and keep pets secure.
6
WiFi ready — have your network name and password on hand.
What to expect on the day
→An adult at home for the whole day.
→A short power interruption when we disconnect and reconnect at your DB.

Before we install

We run an extensive check on your home before installation, and we tell you about anything we find. In some cases we may have to stop work.

Safety
Anything that makes the work unsafe for our team or for your home.
Damaged trusses
Damage to the trusses under your tiles, which we can only see once we are on the roof.

If we find anything, we talk to you first and agree the next step together.

Questions homeowners ask us

The answers below are general. The numbers for your own home are in your proposal.

How much will I save?+
It depends on your usage, your roof and your system size. We base your estimate on your recent TNB bills, and it is shown in your proposal.
How long before it pays for itself?+
Payback depends on system size, your usage and the tariff you are on. Your proposal shows the payback period for your home.
What size system should I get?+
Size is set by the regulations for your supply, your roof space and your consumption. See the System size tab, which also has a rough calculator.
What happens to power I don't use?+
It is exported to TNB under Solar ATAP and earns you export credits against your bill.
Do the panels work when it rains?+
Yes, but they produce less on cloudy, rainy or hazy days. TNB makes up the difference automatically, so your power never stops.
Will solar keep my power on in a blackout?+
No. The system shuts down during an outage so nobody working on the grid is exposed to your solar electricity. You need a battery for backup power.
Do I have to clean the panels?+
Rain usually takes care of most of the cleaning. If your panels seem to be generating less than usual, let us know. We will check the system and, if cleaning is needed, we can arrange it for a fee.
Will the install damage or leak my roof?+
We seal every fixing point and put the tiles back. Tile damage caused by our installation is covered by a 1-year installation warranty.
How long does the system last?+
Panels are built to last decades, and the inverter is the part most likely to be replaced first. The exact warranty terms for your equipment are listed in your proposal.
Do I need approval from TNB?+
Yes. We prepare and submit the application for you, which is why we need your MyKad, TNB bill and proof of ownership.
Can I add a battery or EV charger later?+
Yes. We place the inverter and PVDB outdoors partly to keep those upgrades simple. Tell us if you are considering one, so we can plan for it.
What if I sell my house?+
The system stays with the property. Let us know and we will help transfer the account and the monitoring to the new owner.
How do I see how much I'm generating?+
Through the monitoring app we set up on installation day. It shows generation and usage in real time.

The inverter is the brains of your system

It runs a full health check when we install, and tells us straight away if something is not right. After that it keeps checking, every day, on its own.
Installer mounting the inverter and PVDB
Unstable grid
If the TNB supply becomes unstable, the inverter shuts off.
Panel insulation
If panel insulation degrades, it shuts off.
Loose connectors (AFCI)
Arc fault detection picks up loose connectors on the panel side.
Lightning and surges
If lightning strikes or the grid surges, the system protects itself.
Anti-islanding
In a power failure the system shuts down, so nobody working on the grid is exposed to your solar electricity.
Current leakage
Any current leakage raises an alert.
Still have questions?
WhatsApp us at +603-9779 3006, or talk to your consultant.
WhatsApp +603-9779 3006